21 Canning Essentials for Beginners: Must-Have Tools for Home Canning
There’s something comforting about a pantry filled with homemade preserves, colorful jars of fruit, and carefully prepared foods ready to enjoy throughout the year.
Maybe you remember watching a parent or grandparent preserve fresh produce in the kitchen. Or perhaps you’re simply looking for a practical way to make the most of seasonal fruits and vegetables.
Whatever brings you here, learning to can food at home can become a rewarding homemaking skill.
But when you’re just getting started, figuring out which canning essentials you actually need can feel overwhelming.
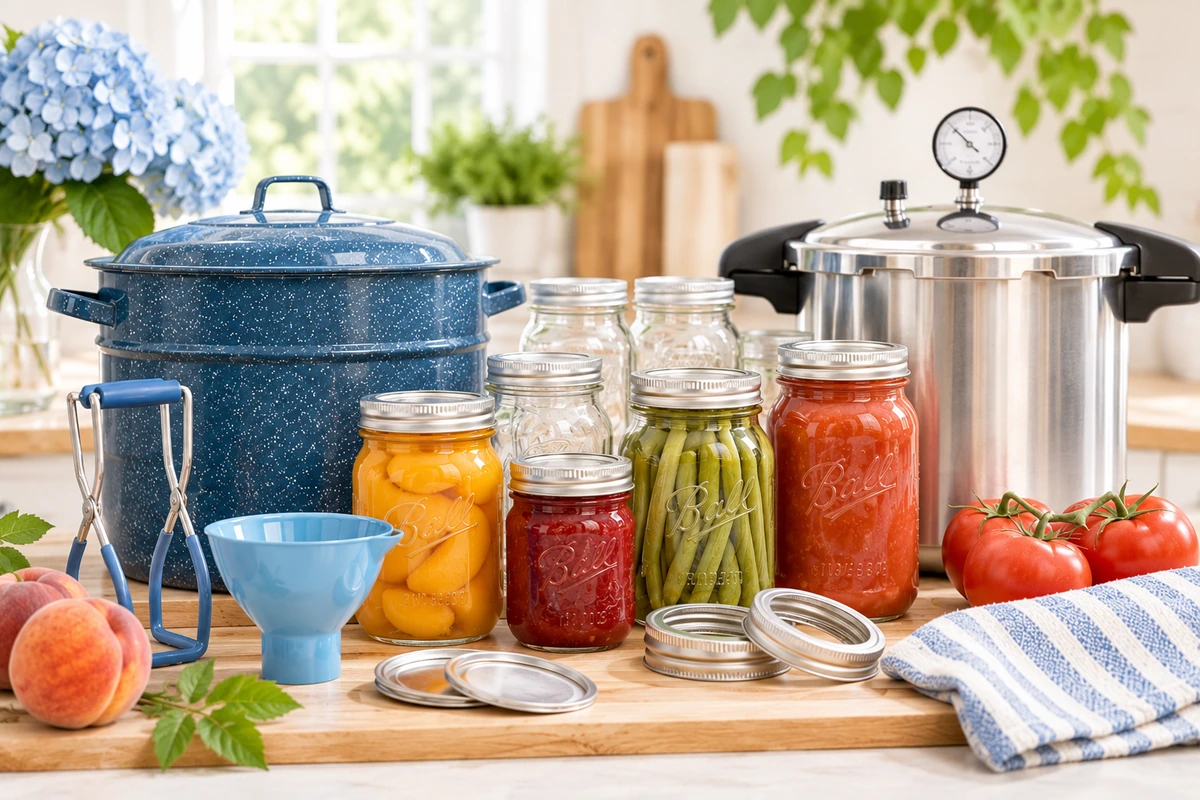
Between Mason jars, jar lifters, water-bath canners, pressure canners, and all those little accessories, it’s easy to wonder where to begin.
The good news? You don’t need every canning gadget on the market to get started.
In this beginner-friendly guide, we’ll walk through 21 canning essentials, explain what each one does, and help you decide which items deserve a place in your kitchen.
Whether you’re dreaming of homemade strawberry jam, jars of peaches, or safely preserved vegetables, this guide will help you prepare with confidence.
Choosing the right canning essentials can make your first home food preservation experience feel simpler, safer, and more organized.
Understanding the Two Main Types of Home Canning
Before shopping for canning essentials, it’s important to understand the difference between water-bath canning and pressure canning.
Both methods preserve food in sealed jars, but they’re designed for different types of foods.
Water-Bath Canning
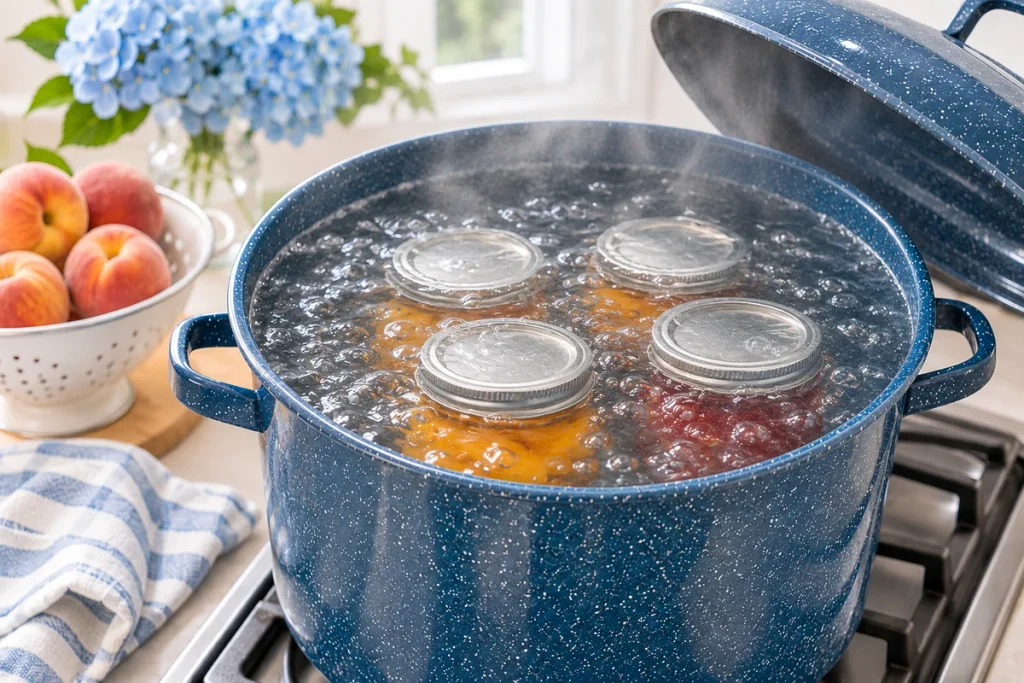
Water-bath canning uses boiling water to process jars of high-acid foods or foods that have been properly acidified according to a tested recipe.
Common examples include:
- Fruit jams and jellies
- Many fruit preserves
- Certain pickles
- Properly acidified tomato products
- Applesauce and some other fruit products
It’s often a practical starting point for beginners because the equipment is relatively straightforward.
Important water-bath canning safety tip: During processing, the jars must remain covered by at least 1 inch of boiling water. For processing times longer than 30 minutes, use at least 2 inches of water above the jar tops. Keep the water boiling throughout the required processing time. If the water stops boiling, bring it back to a vigorous boil and restart the full processing time. Always follow a research-tested recipe, including any altitude adjustments.
Pressure Canning
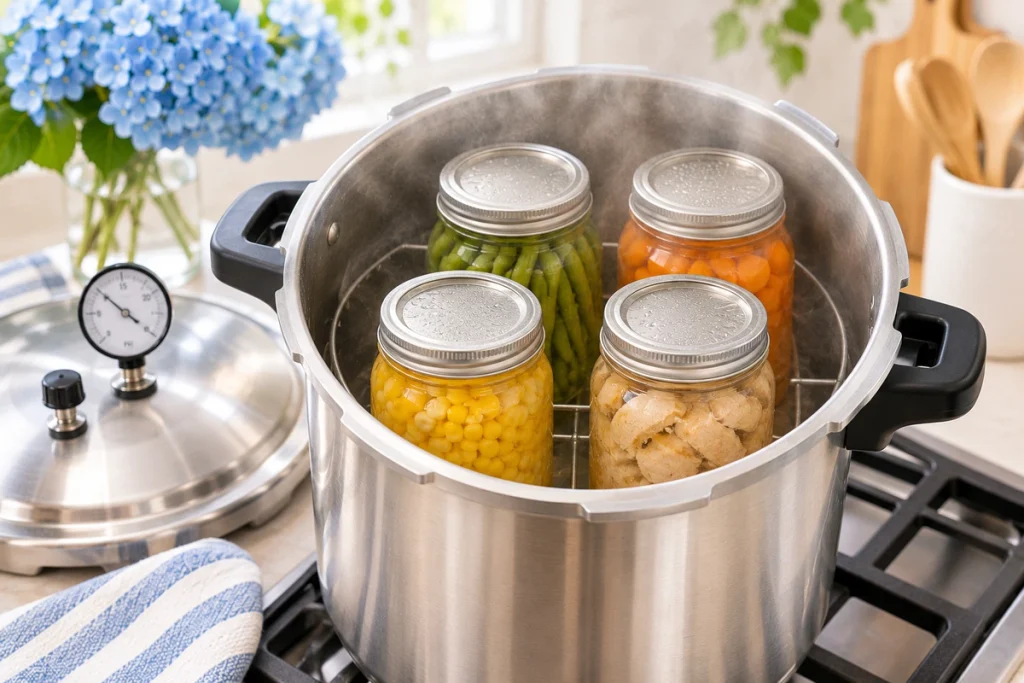
“Mason jars arranged on a rack inside a pressure canner before processing. Always follow the manufacturer’s instructions for water depth, venting, pressure, and processing time.”
Pressure canning uses a specialized pressure canner to reach temperatures higher than boiling water can achieve.
When choosing canning essentials for pressure canning, always prioritize equipment designed specifically for home pressure canning and follow the manufacturer’s instructions.
It’s necessary for safely preserving low-acid foods such as:
- Green beans
- Carrots
- Corn
- Most other plain vegetables
- Meat and poultry
- Certain soups and other mixtures covered by tested recipes
Low-acid foods can support the growth of Clostridium botulinum, the bacterium responsible for botulism. That’s why a boiling-water canner cannot safely replace a pressure canner for these foods.
A gentle but important reminder: Always follow current, research-tested canning recipes from reliable sources such as the USDA, the National Center for Home Food Preservation, or university Cooperative Extension programs. Processing times, pressure levels, jar sizes, acidification, and altitude adjustments are essential for food safety.
Important pressure canning safety tip: Pressure canners generally require 2–3 inches of water in the bottom, unless the tested recipe specifies otherwise. Unlike water-bath canning, the jars are not normally submerged. Before bringing the canner to pressure, allow a steady, visible flow of steam to escape through the open vent for 10 full minutes. Then follow your tested recipe and canner instructions for the correct pressure, processing time, and altitude adjustment. If the pressure drops below the required level during processing, restore the correct pressure and restart the entire processing time.
These 21 canning essentials include practical equipment for preparing ingredients, filling jars, and safely following water-bath and pressure-canning procedures.
21 Canning Essentials Every Beginner Should Know About
Let’s explore the tools that make home canning safer, easier, and more organized.
Some are necessary for almost every canning project, while others are useful additions as your skills grow.
1. Water-Bath Canner
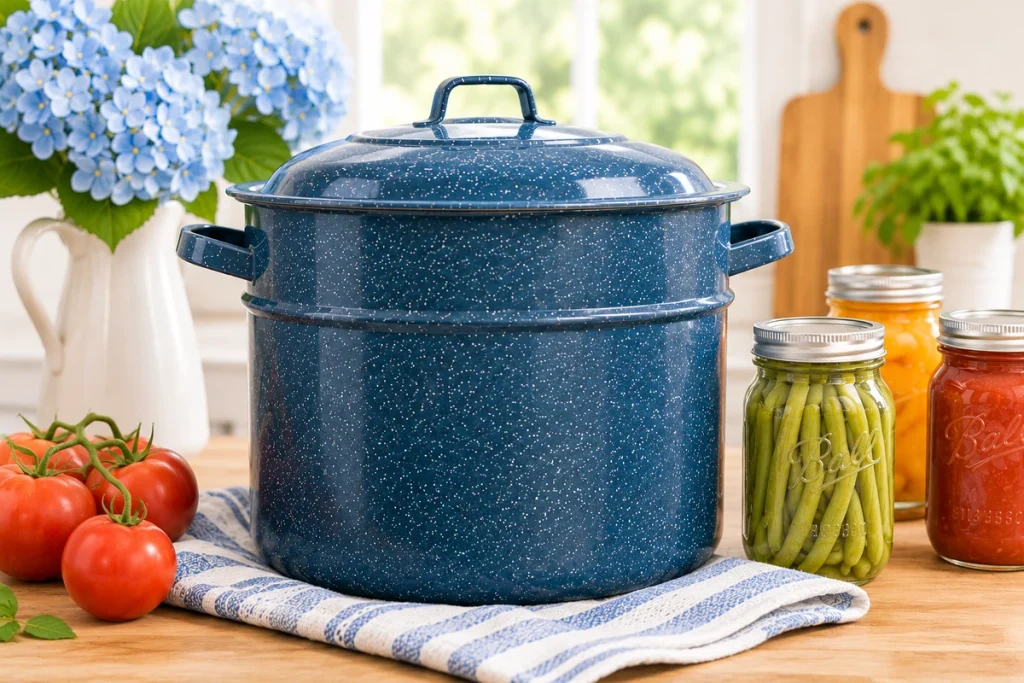
A water-bath canner is one of the first pieces of equipment worth considering if you want to make homemade jams, fruit preserves, or pickles.
These large pots are designed to hold canning jars while they process in boiling water.
Most traditional water-bath canners include a fitted lid and a removable rack that keeps jars off the bottom of the pot.
What to look for:
- A pot deep enough to keep the jars covered by the required amount of boiling water
- A sturdy rack
- A well-fitting lid
- A size that works with your stove and preferred jars
You don’t necessarily need a dedicated water-bath canner. A sufficiently deep, sturdy stockpot with a suitable rack and lid may work, provided it meets safe processing requirements.
For families who plan to preserve seasonal fruits regularly, a dedicated canner can be a worthwhile investment.
2. Pressure Canner
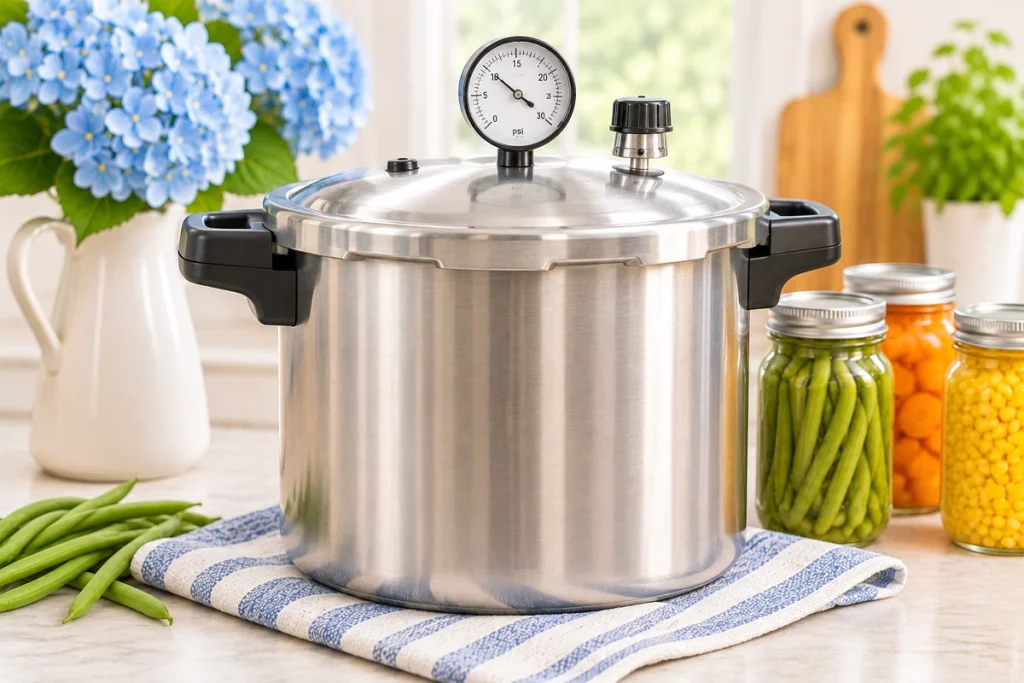
If you’re interested in preserving vegetables, meats, or other low-acid foods, a pressure canner is essential.
Unlike an ordinary pressure cooker, a pressure canner is specifically designed and validated for home food preservation.
It uses controlled pressure to achieve the temperatures required for safely processing low-acid foods.
Pressure canners generally use either a dial gauge or a weighted gauge.
What to look for:
- A model designed specifically for pressure canning
- A suitable capacity for standard canning jars
- Reliable safety features
- Clear manufacturer instructions
- Replacement parts and servicing options
Make sure your stove can safely accommodate the canner’s weight, size, and heating requirements.
A pressure canner is usually a bigger investment than a water-bath canner, but it opens the door to a wider variety of home-preserved foods.
Important: Electric multicookers and small pressure cookers should not be treated as substitutes for a validated pressure canner.
3. Mason Jars Designed for Home Canning
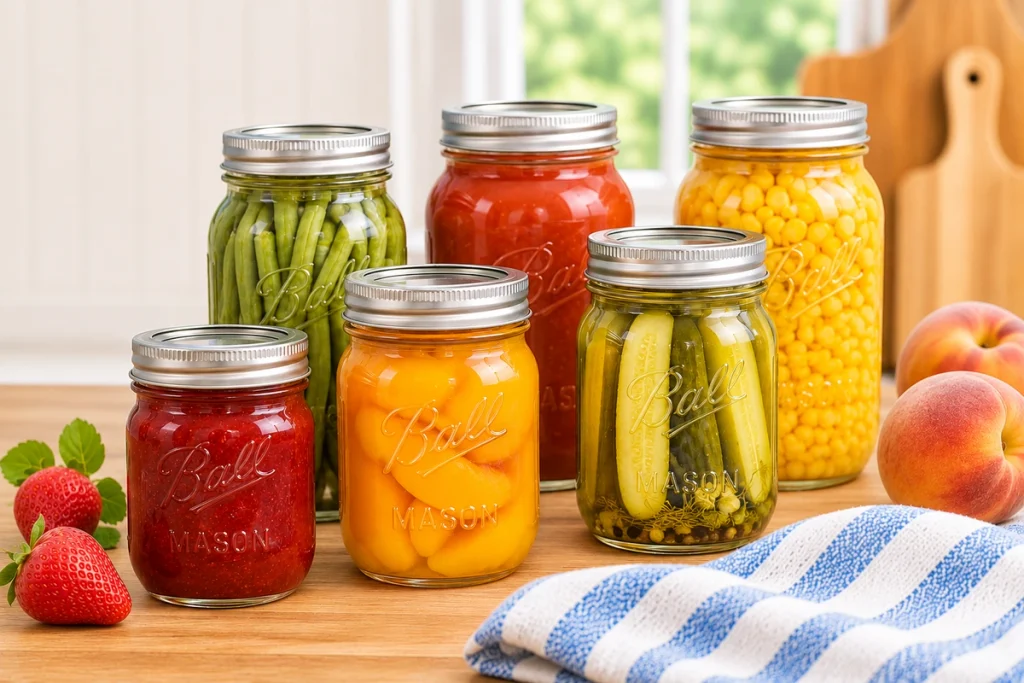
Mason jars are among the most recognizable canning essentials, and for good reason.
They’re designed to withstand the conditions involved in properly processing home-canned foods.
For beginners, standard half-pint, pint, and quart jars are useful sizes to become familiar with.
Half-pint jars are often convenient for jams and jellies, while pint and quart jars can be practical for larger batches when a tested recipe permits them.
Choose jars specifically manufactured for home canning rather than repurposing decorative glass containers or ordinary food packaging.
Before each use, inspect your jars for cracks, chips, or damaged rims.
Beginner tip: Start with one or two jar sizes instead of buying every size available. Always use a jar size approved by your chosen recipe.
4. New Flat Canning Lids
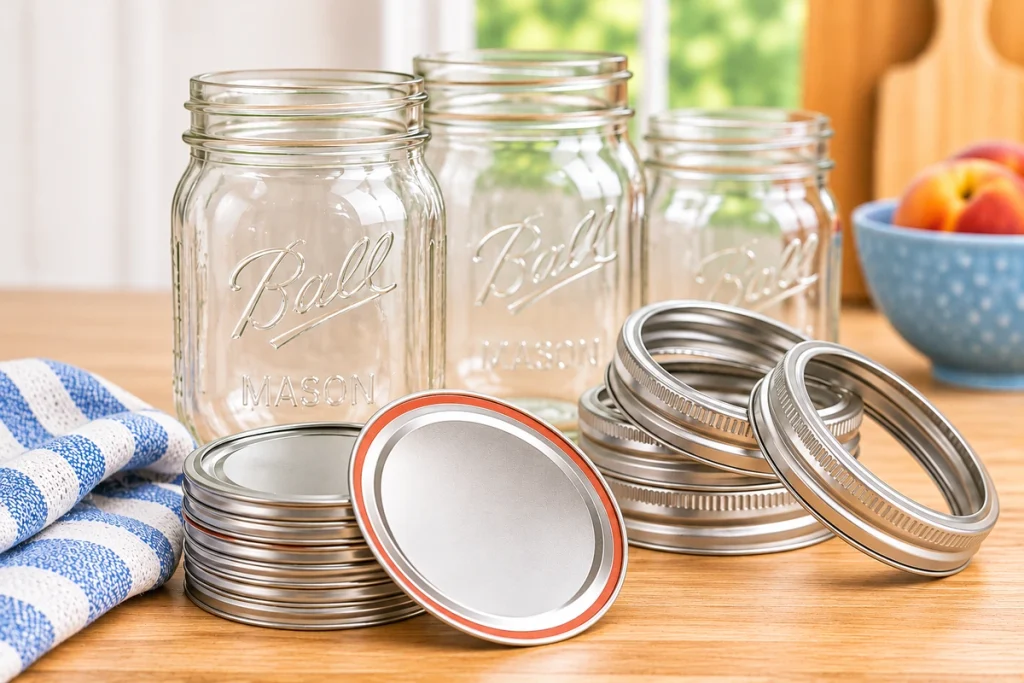
Canning lids may be small, but they play an important role in creating a reliable seal.
The standard two-piece Mason jar closure includes a flat metal lid and a separate screw band.
The flat lid has a sealing compound designed to form a vacuum seal as the processed jar cools.
For conventional metal canning lids, use a new flat lid each time you process a jar.
Previously used flat lids may not seal reliably during another canning session.
It’s helpful to keep a small supply of extra lids in your kitchen so you don’t run short while preparing a batch.
Always follow the lid manufacturer’s current preparation instructions.
5. Reusable Canning Screw Bands
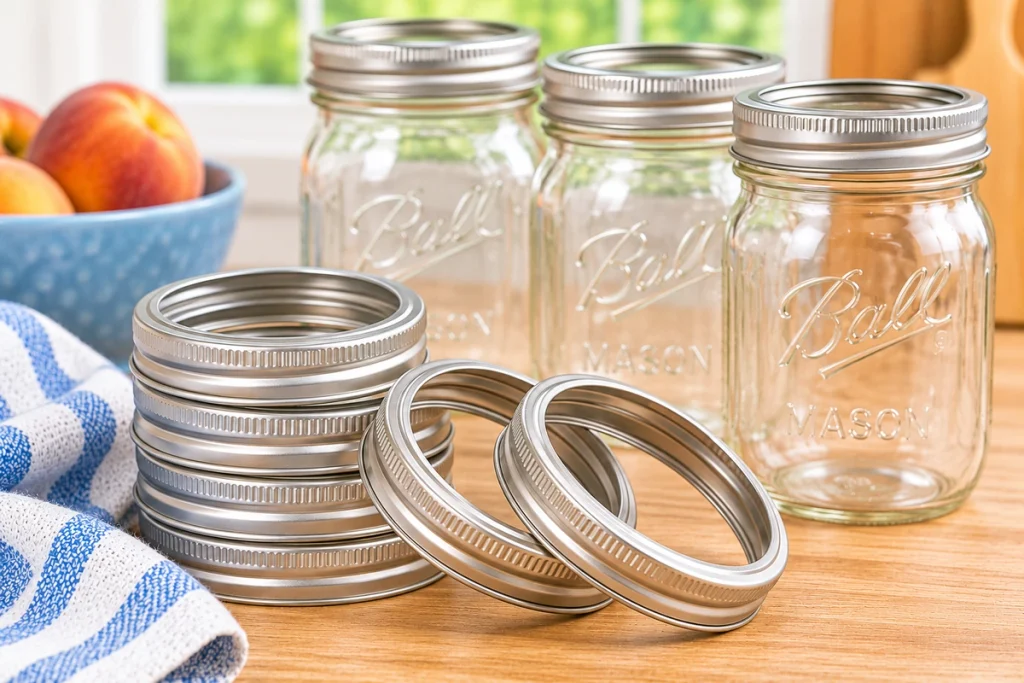
Screw bands hold flat lids in position during processing.
Unlike standard flat lids, screw bands can be reused when they’re clean, undamaged, and free from rust or distortion.
You don’t need to purchase new bands every time you make a batch of preserves.
After processing and cooling, remove the bands before storing sealed jars so you can inspect the seals and keep the threads clean.
Helpful tip: Keep spare bands in a small basket or drawer organizer to make preparing jars easier.
6. Canning Jar Lifter
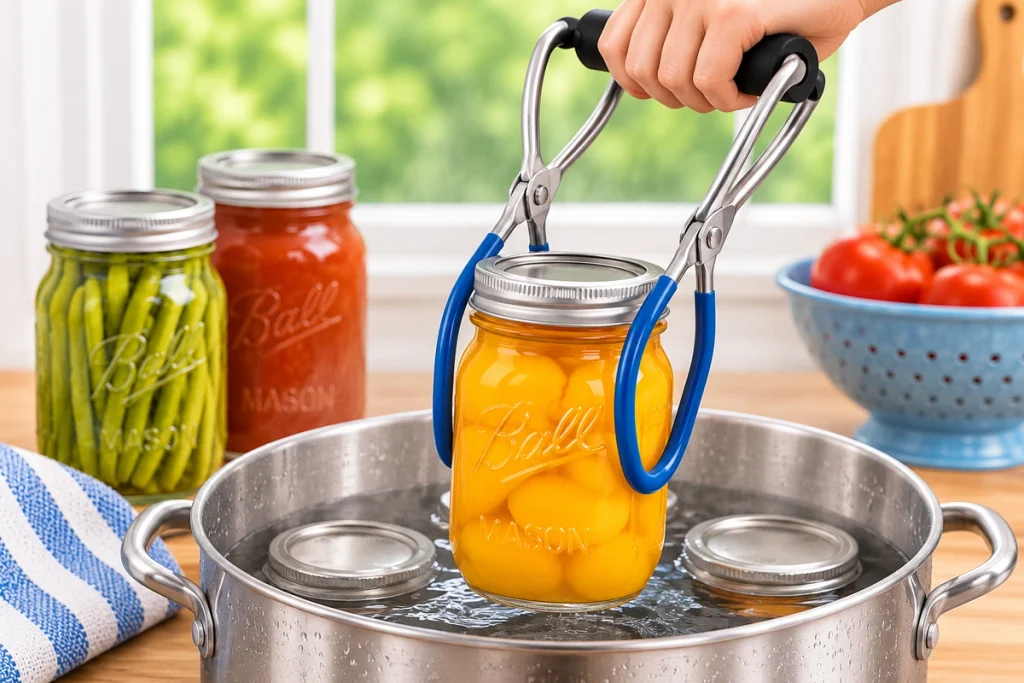
A jar lifter is one of those simple canning essentials tools that quickly proves its value.
Designed with gripping ends, it helps you safely lift hot canning jars in and out of the canner while keeping them upright.
Ordinary kitchen tongs aren’t designed to securely grip heavy, slippery glass jars.
Look for a jar lifter with comfortable handles and a sturdy, nonslip grip.
For beginners, this is one accessory I wouldn’t skip.
7. Canning Funnel
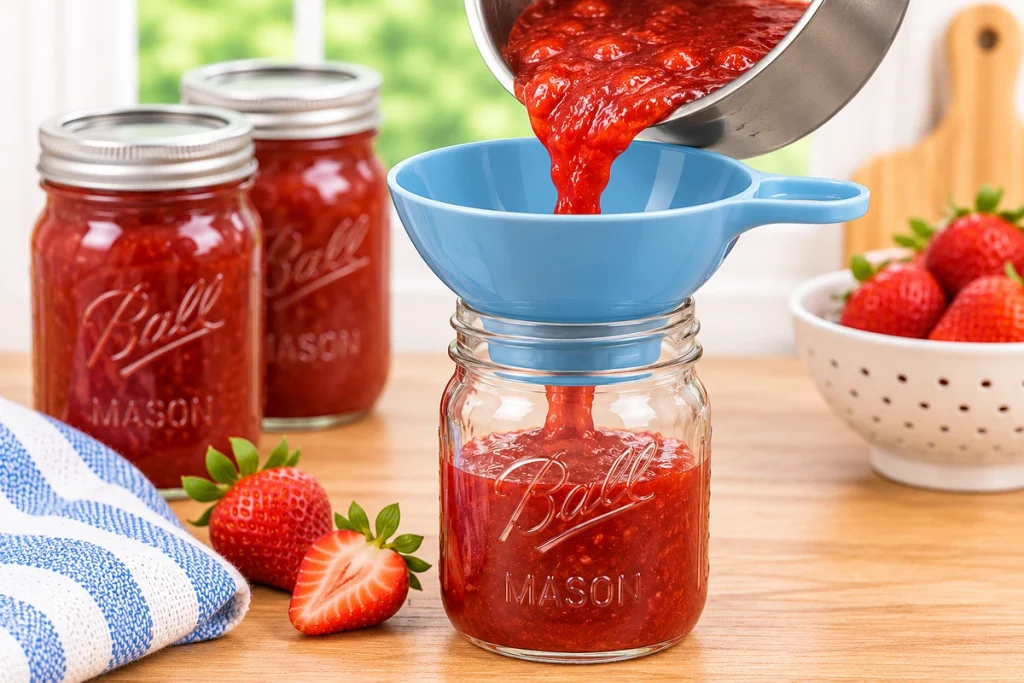
A wide-mouth canning funnel makes filling jars much neater.
It fits into the opening of a Mason jar and helps guide prepared food into the jar without spilling as much onto the rim.
This is especially helpful when working with thick jams, fruit pieces, sauces, or hot liquids.
Choose a food-safe funnel that’s easy to wash and fits your jar openings.
A funnel won’t replace checking and cleaning the jar rim, but it can make the filling process more comfortable.
8. Bubble Remover and Headspace Measuring Tool
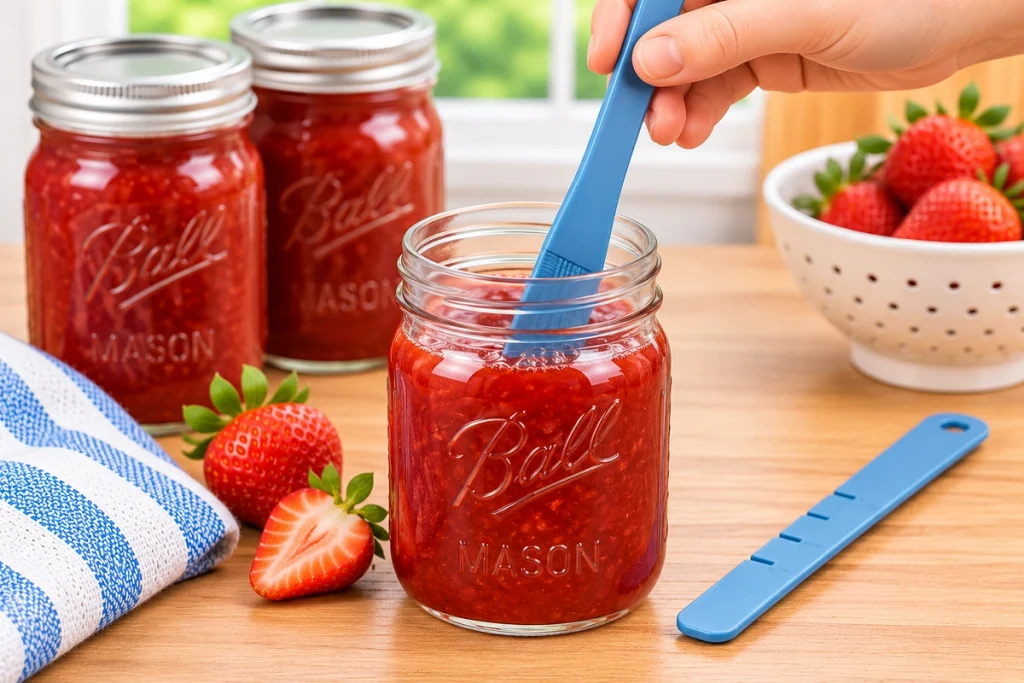
Correct headspace is an important part of safe canning.
Headspace refers to the empty space between the food or liquid inside a jar and the underside of the lid.
The required amount varies depending on the food and tested recipe.
A bubble remover helps release trapped air bubbles from the jar before processing.
Many canning tools also include a stepped headspace gauge, making it easier to check the fill level.
Choose a nonmetallic bubble-removing tool suitable for canning jars, and follow your recipe’s instructions for removing bubbles and adjusting headspace.
This small tool can make an important preparation step much easier.
9. Canning Rack
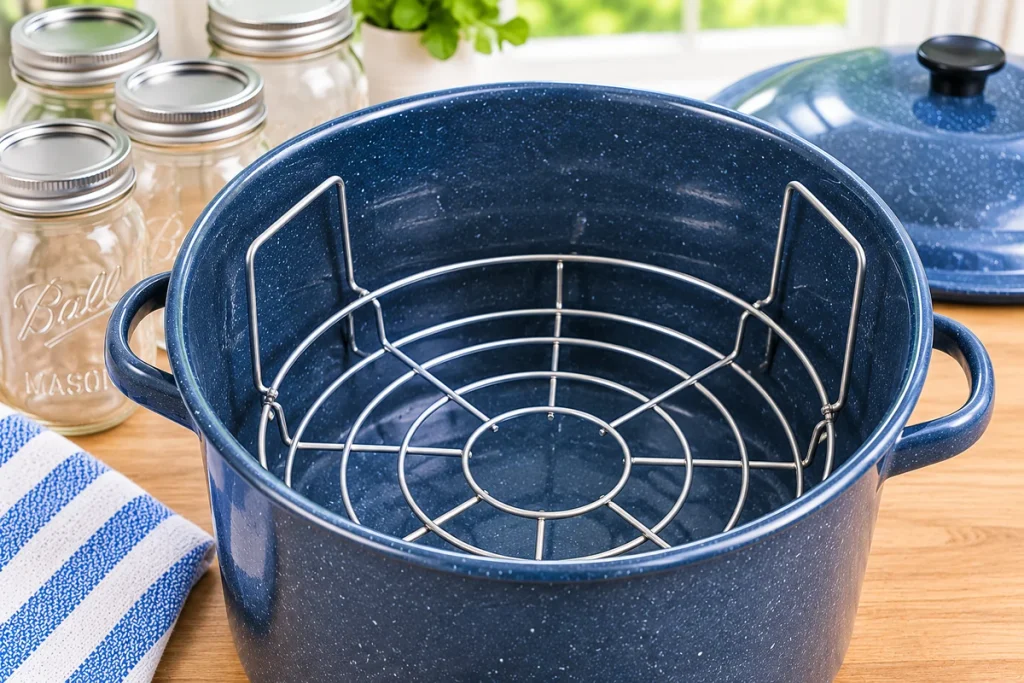
A canning rack keeps jars elevated from the bottom of the canner and allows water or steam to circulate appropriately.
Water-bath and pressure canners require racks suited to their designs.
Some canners include a rack, so check what’s already in the box before purchasing one separately.
For pressure canning, use the rack recommended for your specific canner model.
If you eventually prepare larger batches, an approved additional rack may be useful when your canner supports stacking jars.
10. Reliable Kitchen Timer
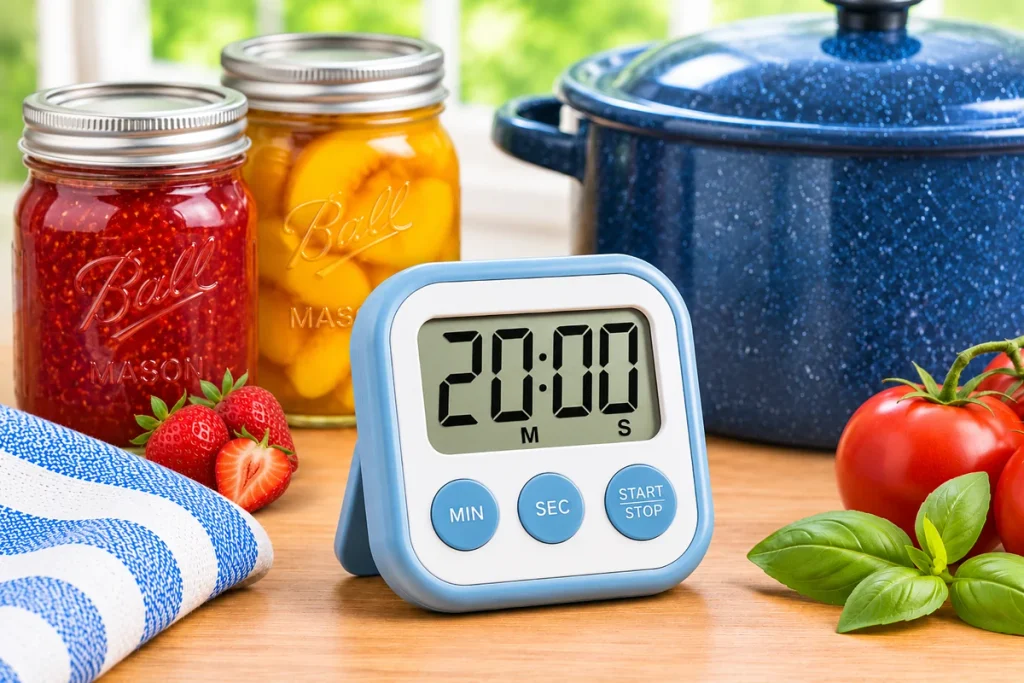
For water-bath canning, start timing only after the water returns to a vigorous boil, following your tested recipe. Maintain that boil throughout processing.
For pressure canning, begin timing only after the required pressure has been reached, as indicated by your dial gauge or weighted gauge according to the manufacturer’s instructions. Maintain the correct pressure for the entire processing time. If pressure drops below the required level, bring the canner back to pressure and restart the full processing time.
11. Heat-Resistant Kitchen Towels
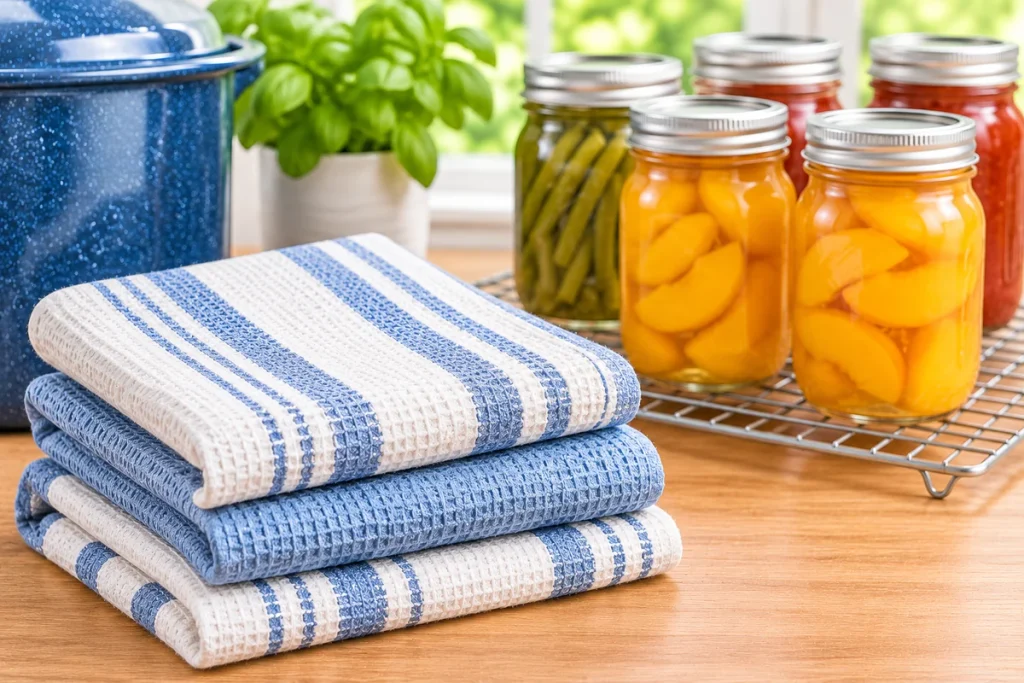
Clean kitchen towels are helpful for managing your workspace and protecting countertops from everyday spills.
They’re also useful for drying washed equipment and keeping your preparation area tidy.
For cooling processed jars, use a clean, dry towel on a stable, heat-resistant surface when recommended by your canning instructions.
Avoid placing hot jars directly onto a cold or wet countertop.
Choose towels that are absorbent, easy to wash, and reserved for clean kitchen tasks.
12. Ladle or Heat-Safe Pouring Utensil
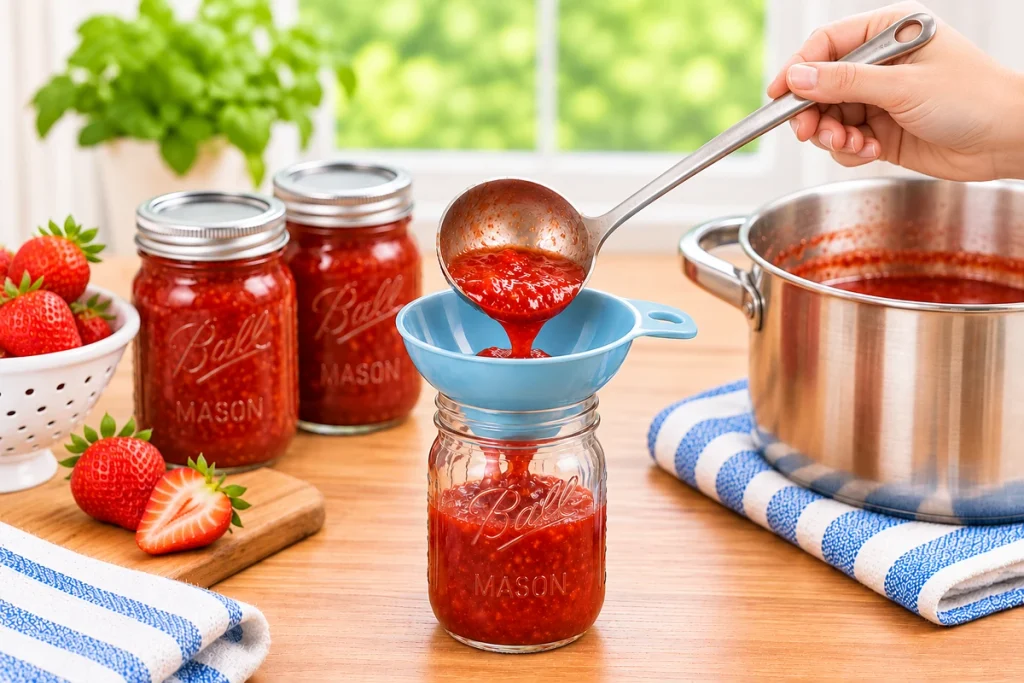
A sturdy ladle makes transferring hot fruit mixtures, jams, and liquids into jars much easier.
A long handle helps keep your hands farther away from hot food.
Stainless steel and suitable heat-resistant utensils are practical choices.
If you regularly prepare homemade preserves, a ladle with a pouring lip may help reduce drips.
You probably already have a suitable ladle in your kitchen, so there’s no need to purchase a special canning version unless you want one.
13. Large Food-Preparation Pot
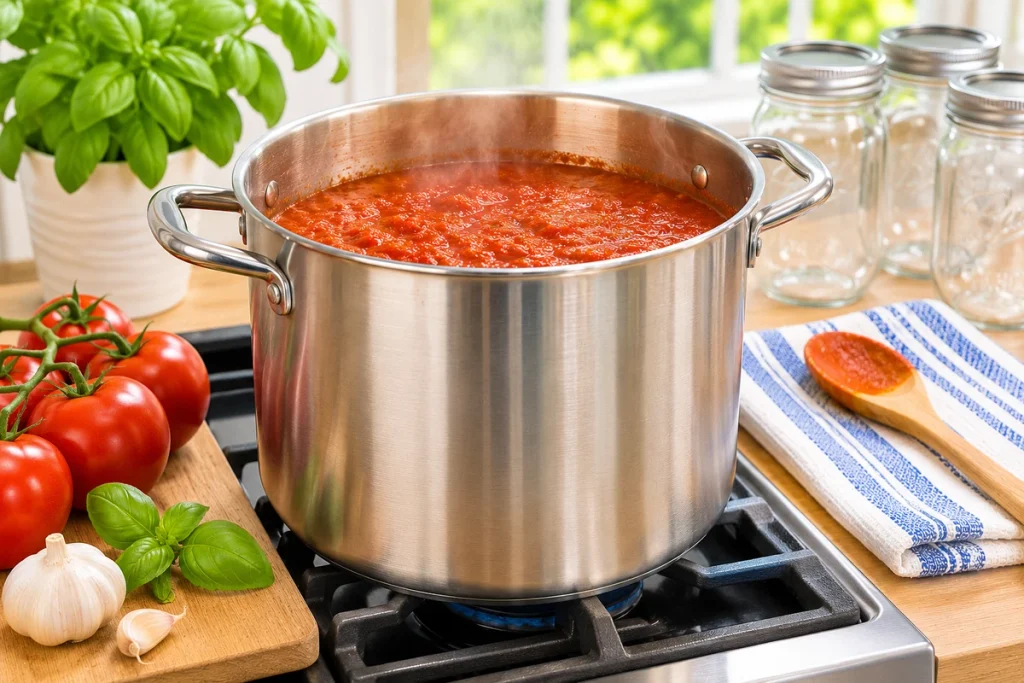
A separate large cooking pot is helpful for preparing food before filling your canning jars.
You might use it to cook jam, heat fruit, or prepare a tested sauce recipe.
A heavy-bottomed pot helps distribute heat and can reduce scorching during cooking.
Choose a size that comfortably accommodates your recipes without overflowing.
For many beginners, an existing stainless steel stockpot or Dutch oven may work perfectly well.
Remember that preparing food in a pot is different from processing filled jars in a canner.
14. Cutting Board and Sharp Kitchen Knife
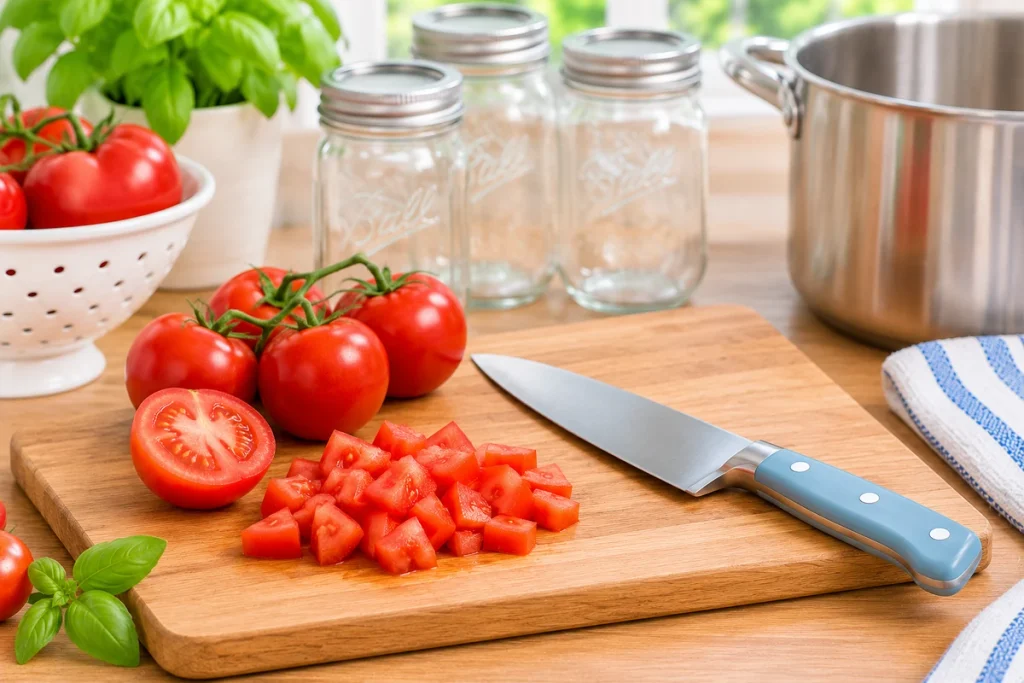
Many home canning projects begin with washing, trimming, peeling, or cutting fresh produce.
A sturdy cutting board and a sharp knife make these tasks more manageable.
Use clean equipment, wash produce properly, and prevent cross-contamination when preparing ingredients.
A comfortable knife is often more useful than buying several specialized cutting gadgets.
If you’re just starting out, the everyday tools already in your kitchen may be all you need.
15. Vegetable Peeler
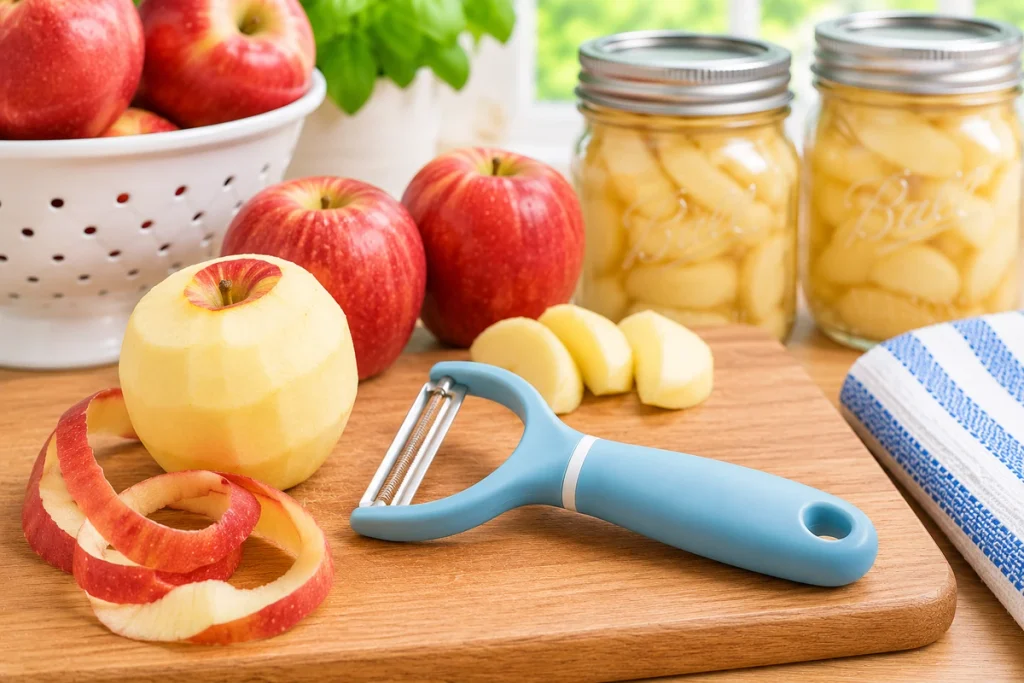
A vegetable peeler is a small but useful addition to your canning essentials.
Depending on your chosen recipe, you may need to peel apples, carrots, peaches, or other produce before preparing them for processing.
A comfortable peeler can make larger batches easier on your hands.
Look for one that’s easy to grip, simple to clean, and suited to the ingredients you prepare most often.
Not every recipe requires peeling, so always follow the tested instructions rather than removing skins automatically.
16. Colander or Produce Strainer
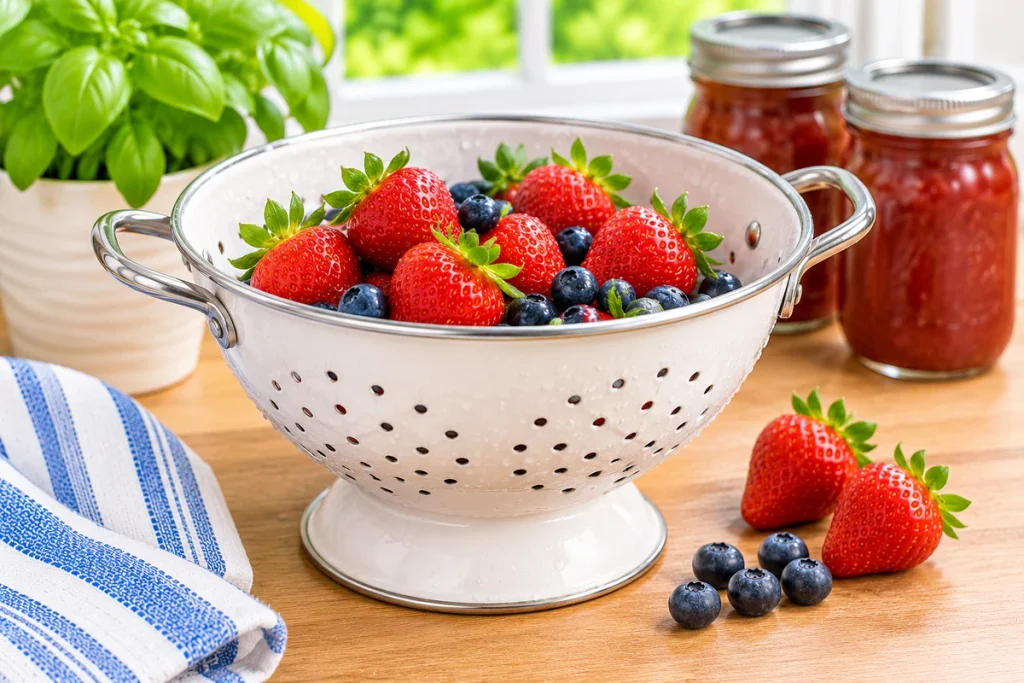
A colander makes washing and draining fresh fruits and vegetables much more convenient.
It’s particularly helpful when working with berries, green beans, tomatoes, or larger quantities of produce.
Choose a colander that’s easy to clean and large enough for your usual batch size.
A sturdy stainless steel or food-safe plastic model is generally sufficient.
It’s another everyday kitchen essential that can serve many purposes beyond home canning.
17. Kitchen Scale
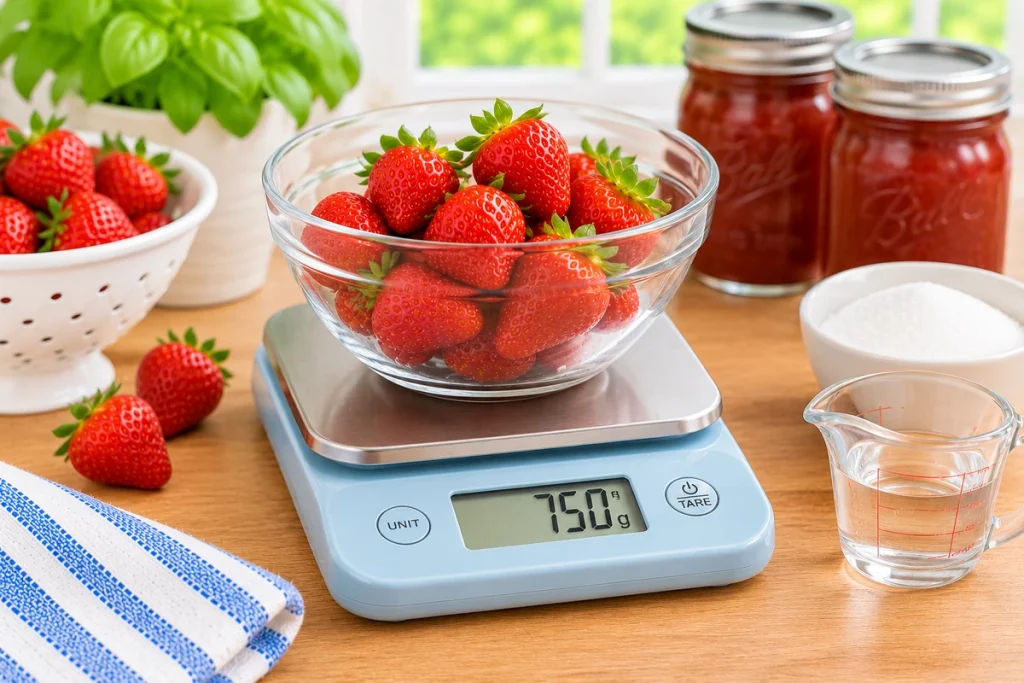
A kitchen scale helps you measure ingredients accurately when a tested recipe specifies weights.
This can be particularly useful when preparing fruit spreads or recipes involving larger quantities of produce.
Look for a digital scale with an easy-to-read display and a tare function.
However, a scale isn’t a substitute for following a tested recipe’s specified quantities and preparation methods.
Always measure ingredients using the units and method provided in the recipe.
18. Measuring Cups and Spoons
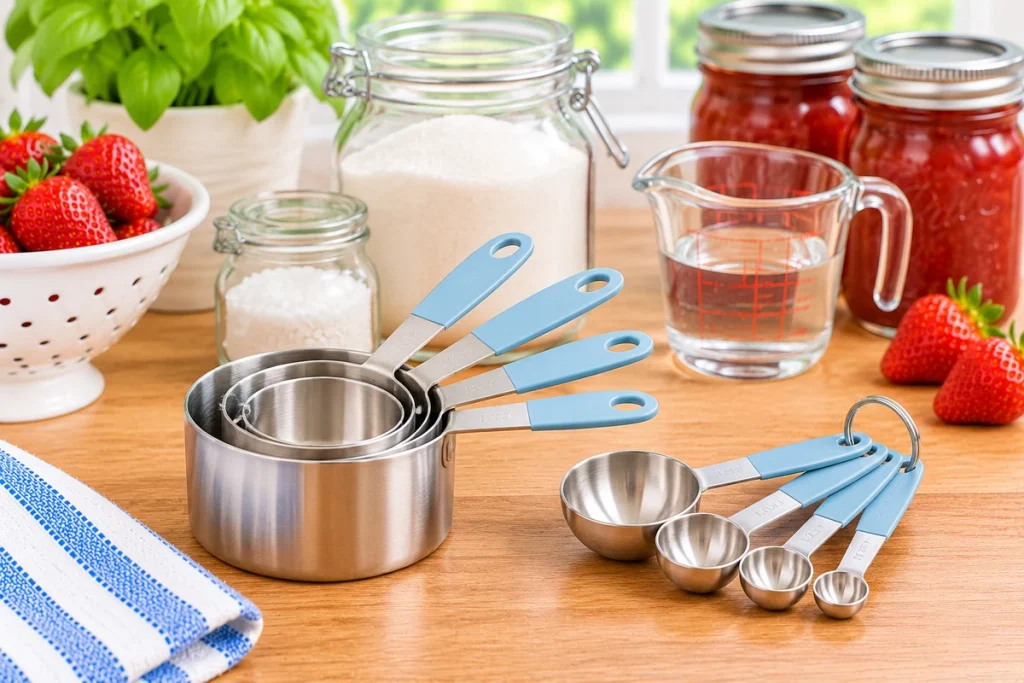
Accurate measuring tools are useful for preparing canning recipes.
Some recipes require specific quantities of sugar, salt, vinegar, bottled lemon juice, or other ingredients.
These measurements can affect flavor, texture, and, in certain recipes, the safety of the finished product.
Choose sturdy measuring cups and spoons with clear markings.
Important: Never casually reduce vinegar, omit required acid, or change ingredient proportions in a tested canning recipe. Those changes can make a recipe unsafe for shelf-stable storage.
19. Pressure Canner Gauge and Replacement Parts
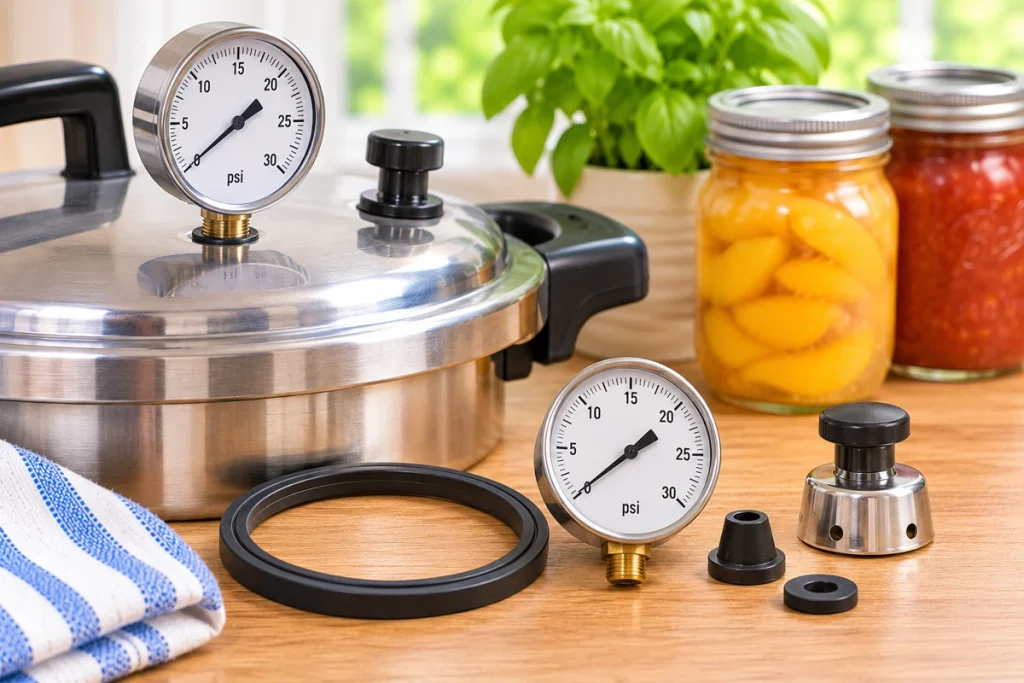
If you use a pressure canner, maintaining its components is essential.
Depending on your model, this may include a dial gauge, weighted regulator, gasket, vent pipe, or overpressure plug.
These aren’t accessories to collect unnecessarily. They’re important parts that must be compatible with your specific canner.
Dial gauges should be tested for accuracy before the canning season and at least annually.
Inspect gaskets, vents, and other safety components according to the manufacturer’s instructions.
If a part is damaged or worn, replace it with the correct manufacturer-approved component.
A properly maintained pressure canner is much more important than owning extra gadgets.
20. Jar Labels and a Permanent Marker
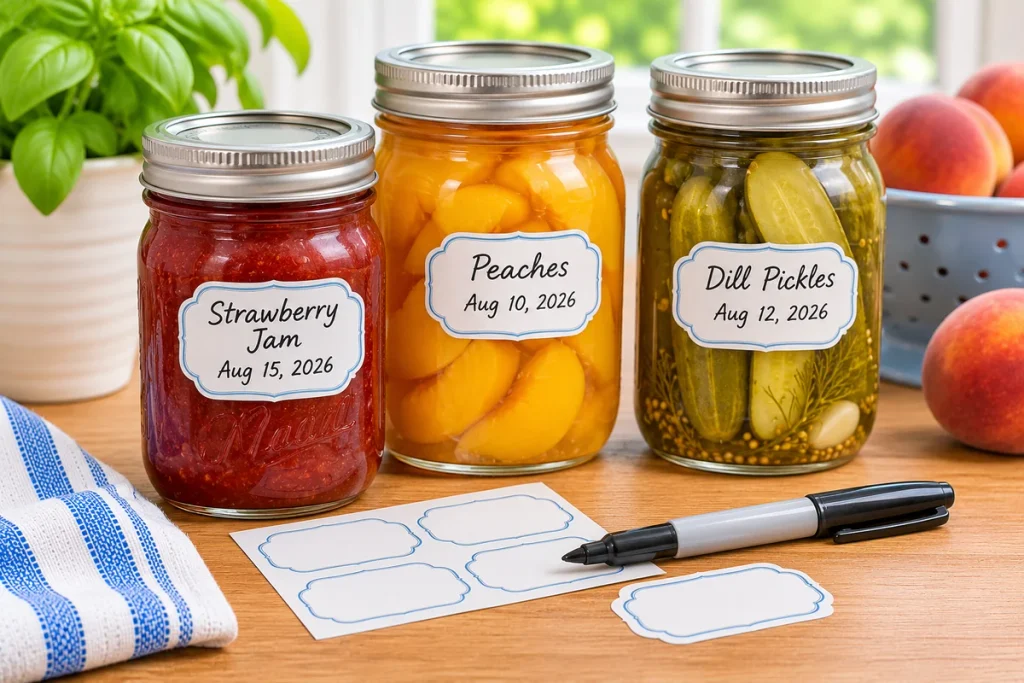
Once your jars have cooled, sealed properly, and are ready for storage, labeling helps keep your pantry organized.
A simple label can include:
- Name of the preserved food
- Date it was canned
- Batch information, if helpful
You don’t need elaborate labels.
Plain removable labels and a permanent marker work beautifully.
Just remember that attractive labels don’t tell you whether a jar was safely processed. Safe preparation, processing, and storage always come first.
21. A Trusted Home Canning Guide or Recipe Resource
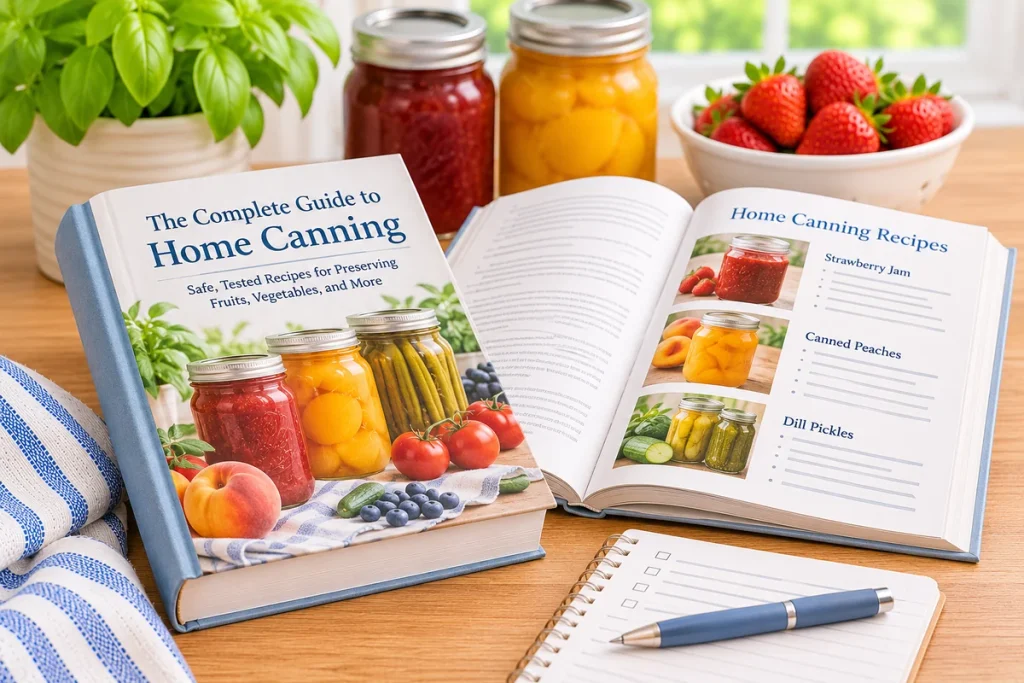
Of all the canning essentials on this list, a reliable, research-tested recipe source may be the most important.
Home canning isn’t a cooking method where you can freely improvise processing instructions.
The correct canning method depends on the food’s acidity, density, ingredients, jar size, preparation method, and other factors.
Start with trusted resources such as:
- USDA Complete Guide to Home Canning
- National Center for Home Food Preservation
- University Cooperative Extension food-preservation publications
A current, research-based canning guide can help you understand processing times, altitude adjustments, equipment requirements, and safe storage practices.
Keep your chosen instructions nearby whenever you prepare a batch.
Not every beginner needs to purchase all these canning essentials at once. Start with the tools required for your chosen research-tested recipe and gradually build your collection.
For safe and reliable home canning instructions, consult the National Center for Home Food Preservation, which provides research-based guidance on processing methods, food preparation, and tested preservation recipes.
Canning Essentials Checklist for Beginners
If you’re feeling a little overwhelmed by the full list, remember that you don’t need to purchase all 21 items immediately.
Your starter canning essentials will depend on the foods you plan to preserve.
| Essential Supply | Water-Bath Canning | Pressure Canning |
|---|---|---|
| Appropriate canner | Yes | Yes |
| Canning jars | Yes | Yes |
| New flat lids and suitable bands | Yes | Yes |
| Compatible canning rack | Yes | Yes |
| Jar lifter | Yes | Yes |
| Canning funnel | Helpful | Helpful |
| Bubble remover and headspace tool | Helpful | Helpful |
| Reliable timer | Yes | Yes |
| Tested recipes | Essential | Essential |
| Properly functioning pressure gauge/regulator | Not applicable | Essential |
Most other tools on our list are ordinary kitchen supplies you may already own.
How Much Should Beginners Spend on Canning Essentials?
You don’t need to build a fully stocked canning kitchen overnight.
Start by deciding what you want to preserve.
If your first goal is homemade jam, you may only need an appropriate water-bath canner, jars, lids, a rack, a jar lifter, and a few basic kitchen tools.
If you want to preserve vegetables or meats, you’ll need to budget for a suitable pressure canner.
Before purchasing a complete canning essentials kit, check which accessories are included.
Some kits contain useful basics, while others include tools you may already own.
Buying thoughtfully can help you build a practical collection without filling your cabinets with unnecessary equipment.
Common Canning Mistakes Beginners Should Avoid
Learning a new homemaking skill takes patience, and home canning is no exception.
Here are some important mistakes to avoid.
Using the Wrong Canning Method
Never use boiling-water canning for low-acid foods that require pressure canning.
Choose your processing method based on a current, tested recipe.
Following Untested Recipes
A family recipe may be wonderful for cooking, but that doesn’t automatically make it safe for shelf-stable canning.
Use research-tested recipes specifically developed for home canning.
Ignoring Altitude Adjustments
Altitude affects boiling temperatures and canning requirements.
Depending on the method, you may need to adjust processing time or pressure.
Always check your elevation and follow the correct instructions.
Reusing Conventional Flat Canning Lids
Standard flat metal canning lids are intended for one processing use.
Reuse suitable screw bands, but replace conventional flat lids for each new batch.
Changing Jar Sizes Without Checking the Recipe
A tested recipe’s processing time is developed for specific jar sizes.
Don’t assume a larger jar can be safely processed using the same instructions.
Rushing the Cooling Process
Allow processed jars to cool naturally, without disturbing the lids or tightening the screw bands.
For pressure canning, never force-cool the canner or open it while pressurized. Once the canner has fully depressurized, remove the pressure regulator or open the petcock as instructed, wait 10 minutes, and carefully open the lid away from your face.
For boiling-water canning, follow your tested procedure for turning off the heat and allowing the jars to rest briefly before removal.
Place processed jars upright on a dry towel or cooling rack, leaving at least 1 inch of space between them. Allow them to cool undisturbed for 12–24 hours before checking the seals.
Remove the screw bands from properly sealed jars before storage. Refrigerate unsealed jars promptly and follow approved guidance for using or safely reprocessing them.
How to Organize Your Canning Essentials at Home
A simple storage system can make your next canning project much easier.
You don’t need a large farmhouse kitchen or a dedicated pantry to stay organized.
Try keeping small accessories, such as jar lifters, funnels, and measuring tools, together in a basket or drawer.
Store clean jars somewhere protected from dust and accidental damage.
Keep unused lids in their original packaging until you’re ready to use them.
Pressure canner components should be cleaned, inspected, and stored according to the manufacturer’s recommendations.
Finally, keep your trusted canning guide in an easy-to-find location.
A little organization makes the process feel calmer and helps you prepare your workspace before starting.
Frequently Asked Questions About Canning Essentials
What canning essentials do I need as a beginner?
Start with an appropriate canner, canning jars, new flat lids, screw bands, a compatible rack, a jar lifter, a timer, and a trusted tested recipe. A funnel and headspace tool are also helpful.
Is water-bath canning easier than pressure canning?
Water-bath canning often involves simpler equipment, making it a popular starting point for beginners. However, it is only suitable for foods and recipes approved for that method.
Can I use a regular pot for water-bath canning?
Yes, if the pot is sufficiently deep, has a fitted lid and suitable rack, works with your stove, and allows the required amount of boiling water above the jars.
Do I need both a water-bath canner and a pressure canner for canning essentials?
Not necessarily. The equipment you need depends on the foods you want to preserve. A pressure canner is required for low-acid foods, while a boiling-water canner is appropriate for many tested high-acid recipes.
Can I use an Instant Pot for pressure canning?
Do not use an ordinary electric multicooker as a substitute for a pressure canner when following USDA or National Center for Home Food Preservation pressure-canning instructions. These appliances are not interchangeable.
Can I reuse Mason jars?
Yes. Standard Mason jars manufactured for home canning can be reused when they’re free from cracks, chips, and other damage. Conventional flat metal lids should be replaced for each processing cycle.
What is the best food to can first?
Many beginners enjoy starting with a tested fruit jam, jelly, or applesauce recipe using water-bath canning. Choose a recipe from a reliable source and follow it exactly.
Final Thoughts: Start Small and Enjoy Learning
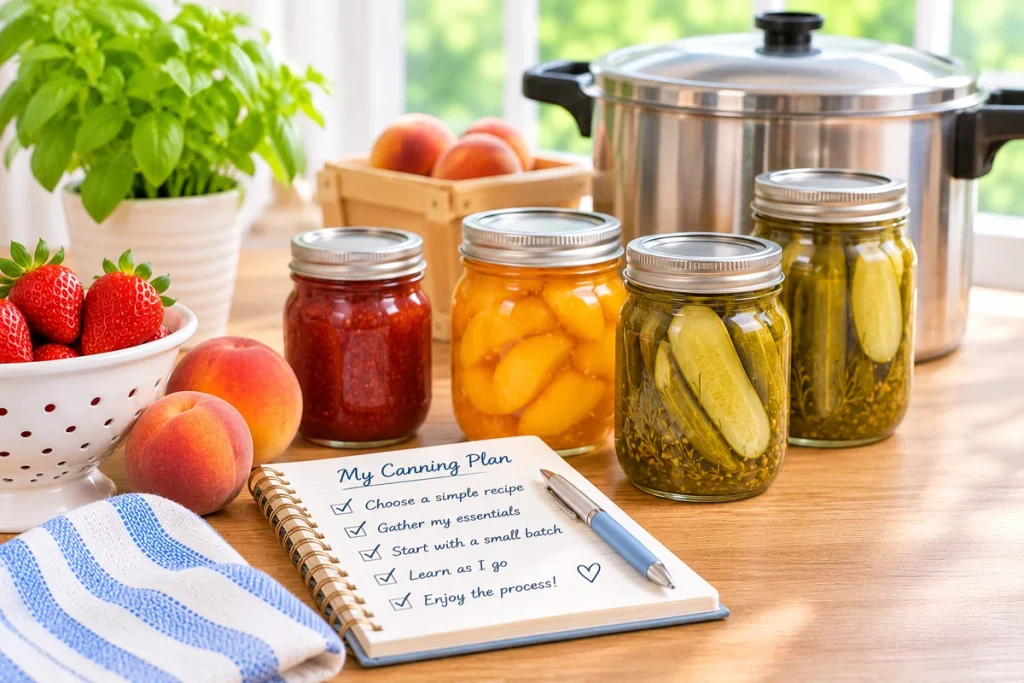
Building your collection of canning essentials doesn’t have to happen all at once.
You can begin with a few carefully chosen canning essentials, a reliable recipe, and one manageable project.
Maybe your first batch will be homemade strawberry jam to enjoy with breakfast. Perhaps you’ll preserve peaches when they’re in season or eventually learn to pressure-can vegetables for your pantry.
Whatever you choose, remember that safe canning is a skill worth learning carefully.
Take your time, follow trusted instructions, and give yourself room to build confidence with each project.
Because sometimes, the most meaningful comforts at home begin with simple things: fresh ingredients, a little patience, and the satisfaction of learning something useful.
With the right canning essentials, a reliable recipe, and a little patience, you can begin learning the rewarding skill of preserving homemade foods for your family.
And that’s a beautiful place to start.